Showing posts with label vegetable. Show all posts

Wednesday, August 1, 2012

Aloor Dom

I've been sitting on this for weeks, trying to come up with a translation that would truly explain what "Aloor dom" is to someone who isn't Bengali. Aloo is the Bengali for potatoes, so the easiest name would be "potato curry" but it really wouldn't be right. Curry is just too generic a word to explain this dish which was a quintessential part of growing up in Bangladesh. Served with a side of  Luchi ( a deep fried flat bread very popular in my part of the world), aloor dum was breakfast on weekends for the longest time. One way of making this, is to boil the potatoes till barely cooked through and sauteing in a mixture of spices. It is then simmered in a covered pan over a low flame till the flavors completely permeate the potatoes transforming it into a delightful beginning to a lazy weekend.
p.s. I do know that it's Wednesday. But no harm in planning for the coming weekend.

1 lb Potatoes
4 tablespoon oil
7-8 curry leaves
1/4 teaspoon mustard seeds
1/4 teaspoon whole cumin seeds
2-3 cloves of garlic
1 teaspoon grated ginger
1 tomato
1/2 teaspoon cumin powder
1/2 teaspoon coriander powder
1/4 teaspoon turmeric
1/2 cayenne pepper

I used red, yellow and purple baby potatoes which were cut in half, boiled and then peeled.  You want these to be on the smaller end of the spectrum as the smaller potatoes taste better in this dish.


Heat oil in a flat pan and add curry leaves. After a minute add cumin and mustard seeds. Be careful as the seeds will splutter in hot oil. A process we lovingly called tempering. Very common in Bengali cuisine.
  
Add in rest of the spices along with chopped tomatoes.

Saute for a few minutes adding tablespoons of water if the mixture starts sticking.

Add potatoes. Give it a quick stir to evenly mix everything. You want each piece of potato to be coated. But be gentle as traditionally the dish is served as chunky pieces that are not mashed together.

Add 1/2 cup of water, lower the flame and cover with a tight lid. Water will slowly evaporate and infuse potatoes with flavor, a process known as "dom". Stir once in a while to ensure it doesn't stick.  

Potatoes are ready once most of the water evaporates and you are left with a semi-dry mix of potatoes and spices.

Wednesday, July 25, 2012

Step by Step Guide to Paneer

The best thing about making homemade Paneer is that you know it will be fresh, it will never be  rubbery like storebought frozen cubed ones and you can infuse the milk with herbs and spices that will introduce a very subtle hint of flavor. It won't overpower and when used in curries, it will provide a distinct yet subtle edge.
Flavored with lime zest, parsley and cilantro

8 cups whole milk
1/4 c lime juice
1 tablespoon parsley
1 tablespoon cilantro
1 tablespoon lime zest

First, set a pot of milk over medium heat so that it can gently come to a boil. If I recommend using a non stick pot for anything this would be it. Make sure to stir frequently so that the milk does not stick.

Zest and juice one lime. Make sure not to get the white pith that is under the bright green peel because it's the pith that brings bitterness not the zest.

Line a strainer with cheesecloth that has been folded over four times. A single layer would not be strong enough to hold in the cheese.

Once the milk starts boiling add cilantro, parsley and the zest. It is all optional here, you can choose to add some other herb or crushed black pepper for a little kick.

Pour in lime juice and the protein will separate from the greenish whey. Turn off stove immediately as the longer you cook the harder the paneer gets. 

Strain out the cheese. You can use the whey to make bread or as soup stock if you like.

Grab the ends of the cheesecloth and twist the ball of cheese to squeeze out the excess whey.

Now place the paneer on a flat porus surface. and place a heavy pan on top of it.

The water will gently ooze out and you will get paneer that holds it's shape and does not crumble. 

Cut into cubes to use in curries or stir fries.  


Tuesday, June 26, 2012

Stuffed Mushrooms

The best kept secret since no-knead bread would be the fact that it is A-ok to wash mushrooms. Forget about brushing or wiping with damp paper towel to clean the mushrooms. Not only does it take longer but look closely and you will find dirt in the crevices. So take your simple button mushrooms give it a wash under cold water and let's get to stuffing them.

Stuffed mushrooms- the recipe is from epicurious.com. I tweaked just a wee bit.

18-20 mushrooms
2 tablespoon extra virgin olive oil
1/2 cup chopped shallots/ onions
3 garlic cloves
7-8 oz shrimp
2/3 cup Panko bread crumbs
1/2 cup Pecorino Romano
1/4 cup mayo
1/4 cup chopped basil
 pinch of pepper flakes

The hubby brought home fresh button mushrooms the other day and I had this 'urge' or dare I say 'need' to stuff them.

Being fresh the stems popped right out. I saved about half the stems to add to the stuffing mixture. If yours does not come right out run a knife along the edge of the stems to get it to come out.

Grate yourself some fresh Pecorino Romano or Permigiano Reggiano. Believe you me, fresh cheese does make a world of difference.

Gather minced shallots, garlic and fresh basil leaves. I picked mine from the herb garden in my patio which is growing beautifully. p.s. expect fresh basil in many more of my summer recipes.

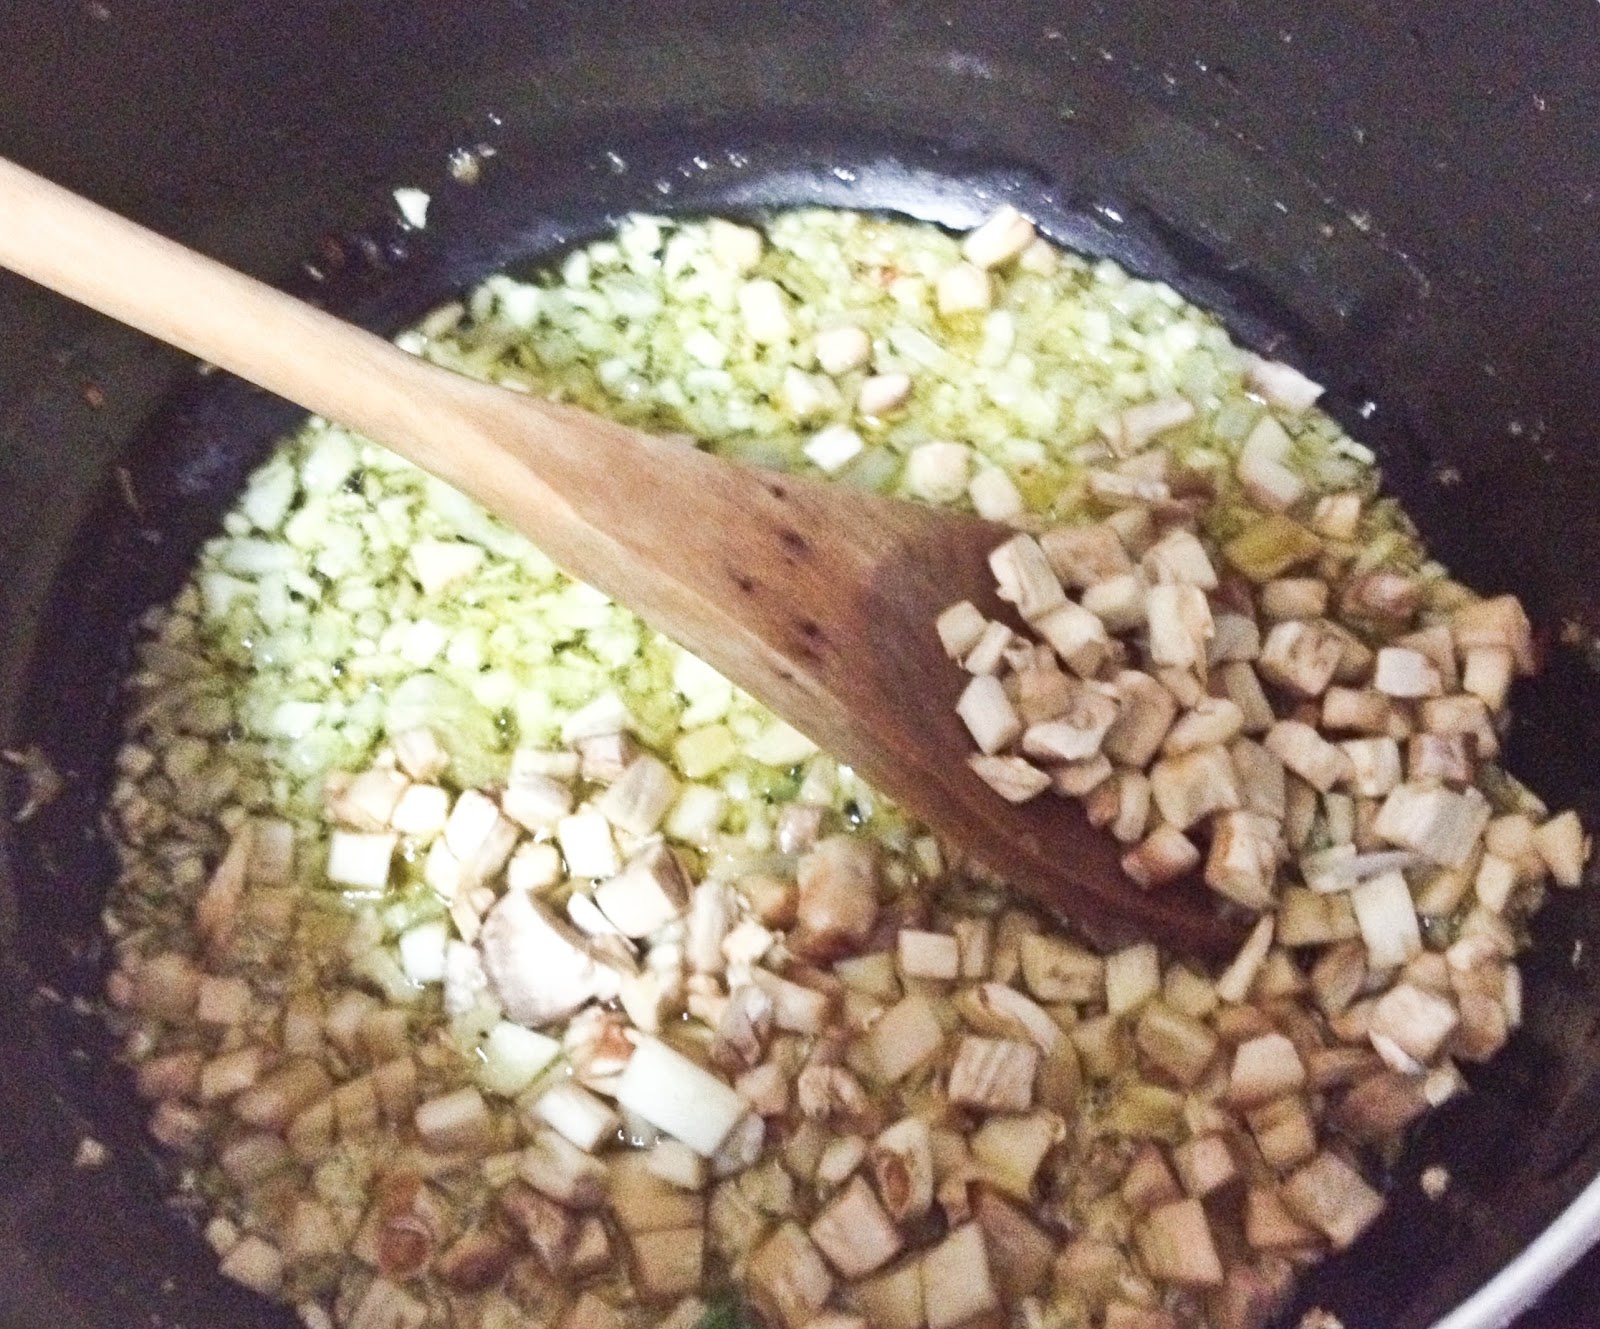
Saute shallots, garlic for a minute or so in olive oil and add the chopped up stems from half the mushrooms.

Cool the mixture and add the rest of the ingredients. Stuff the mushroom really well and quite high and bake on a well oiled baking sheet for 35 minutes at 350 F.Serve warm with julienned basil on top.


Monday, June 25, 2012

Braised Greens for a Meatless Monday

First year of Dental school being done. I'm back to my kitchen again. :)

Not that I wasn't in the kitchen last year, mind you, just not enough to blog about it. But now I'm utterly, completely enjoying the two months I have off before heading back to Philadelphia and back to Dentistry.

Before this vacation's over I promise to post a bunch of new dishes that I've been dying to photograph. Let's start with the simplest one first. Braised mustard greens.

I hate when my green don't retain that deep, bright green hue after being cooked. So I blanch it first and then braise it. You don't have to stick to mustard greens as collards or broccoli rabes taste equally good.

Braised Mustard Greens
1 lb of mustard greens
3 cloves of garlic (minced)
1-2 dry red chilies
2 tablespoon extra virgin olive oil
Salt


Good to know -- A pound might seem like a lot but once cooked you will end up with less than a third of what you started with.


First blanch the greens in a large pot of boiling water that has been salted. To know if you've salted water perfectly, taste it before adding veggies. It should taste like sea water. Be careful to blanch only for a minute or two and then drain the greens in a colander.

Now that you've taken the greens out you can use the same pot for the next steps. On medium heat, saute minced garlic and chilies in olive oil for less than a minute, making sure the garlic doesn't burn. You can choose to take the seeds out of the chilies if you do not like your food spicy, but I usually leave it in.

Add in greens, stir to coat with the lovely oil, garlic, chili concoction. Salt to taste, about 1/4 teaspoon is how I like it. And after a minute add 1/3 cup of water, cook until tender and water has mostly evaporated, approximately 5 minutes.